Paint.NET Tutorial Online Edition

Paint.NET is image and photo editing software for PCs that run Windows. It features an intuitive and innovative user interface with support for layers, unlimited undo, special effects, and a wide variety of useful and powerful tools. An active and growing online community provides friendly help, tutorials, and plugins.

Sponsored Links

Compared to other digital photo editing software packages such as Adobe® Photoshop®, Corel® Paint Shop Pro®, Microsoft Photo Editor, and GIMP, Paint.NET is a powerful yet simple image and photo editor tool now.
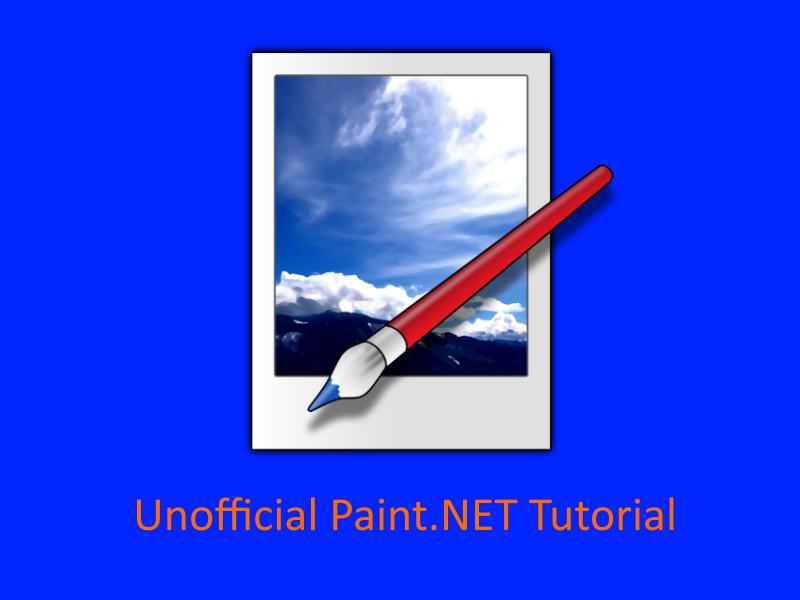
Table of Contents

  1. Introduction
  2. Installation
  3. Layers
  4. How to Create a Background Layer
  5. How to Add a Layer with an Image
  6. How to Add a Layer with Text
  7. How to Duplicate, Delete or Hide a Layer
  8. Save your Work and Save it as PNG or JPEG
  9. Finding Paint.NET Support

1. Introduction

Paint.NET is image and photo editing software for PCs that run Windows. It features an intuitive and innovative user interface with support for layers, unlimited undo, special effects, and a wide variety of useful and powerful tools. An active and growing online community provides friendly help, tutorials, and plugins.

It started development as an undergraduate college senior design project mentored by Microsoft, and is now maintained and developed by Rick Brewster. Originally intended as a free replacement for the Microsoft Paint software that comes with Windows, it has grown into a powerful yet simple image and photo editor tool. It has been compared to other digital photo editing software packages such as Adobe® Photoshop®, Corel® Paint Shop Pro®, Microsoft Photo Editor, and GIMP.

There are two releases of Paint.NET. The Classic release is free of charge to use for personal, business, commercial, school, and government use while the Store release requires a payment.

All the screenshots are taken using the free Classic release.
2. Installation

Paint.NET is an image and photo editing software free of charge. The installation process is very straightforward and there is no ambiguity in installing it.

Sponsored Links

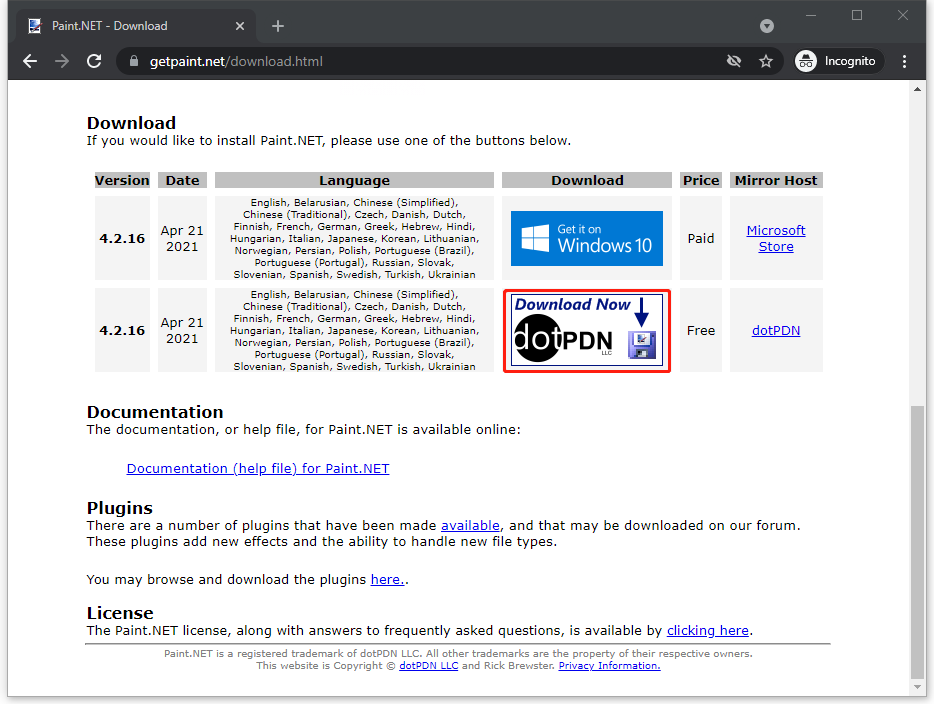
Go to the URL https://getpaint.net/download.html

Click “Download Now”, as shown below.

3. What are “Layers”?

In graphics software, “layers” are the different levels where you can add or place certain objects or images to your graphics file. When creating and designing a graphics image, think of a layer as being a solid or transparent sheet of paper that is stacked on top of other layers of your image.

Essentially, a layer is a container of certain graphics elements. Each layer that is created becomes a component of the overall image that can be easily modified and manipulated without affecting any of the other layers or containers of the image.

The biggest benefit of using layers is the amount of time you will save when applying edits to your image.

Let’s try a working example of how to use layers. We will create a sample rectangle banner with blue background, a logo and text.

4. How to Create a Background Layer

In order to create a layer in Paint.NET, you will need to create an image first. When you first launch Paint.NET, you will need to click “File” in the top menu bar and select “New”.

Sponsored Links

Screenshot:

This will launch the “New” window. In this window, you can define the Image Size dimensions. In this case, we input 800px as width and 600px as height.

Once you have input the sizes, click “OK” and your first layer will be displayed on the right side of the UI window in the “Layers” section. This layer will be titled “Background”.

The Background Layer is white by default. Now, let’s change it to blue.

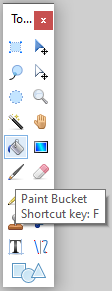
First, select the Paint Bucket took by clicking it using mouse.

Then, in the Colors Palette (located at the right bottom part of the UI Window), change the Primary color to blue by selecting it.


Finally, click anywhere in the Background image and the whole background image will become blue now.

5. How to Add a Layer with an Image

In order to create a layer with an image, we will add a new layer, open the other image file, copy part of the image and paste it to the new layer.

Sponsored Links

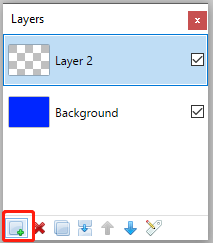
First, we need to add a new layer by clicking the “Add New Layer” button in the Layers section. The default name of the new layer is “Layer 2”.

Let’s double click the new layer “Layer 2” to open Layer Properties dialog, where we change the layer name to “Logo” and click “OK”. Now we have a new blank layer “Logo”.

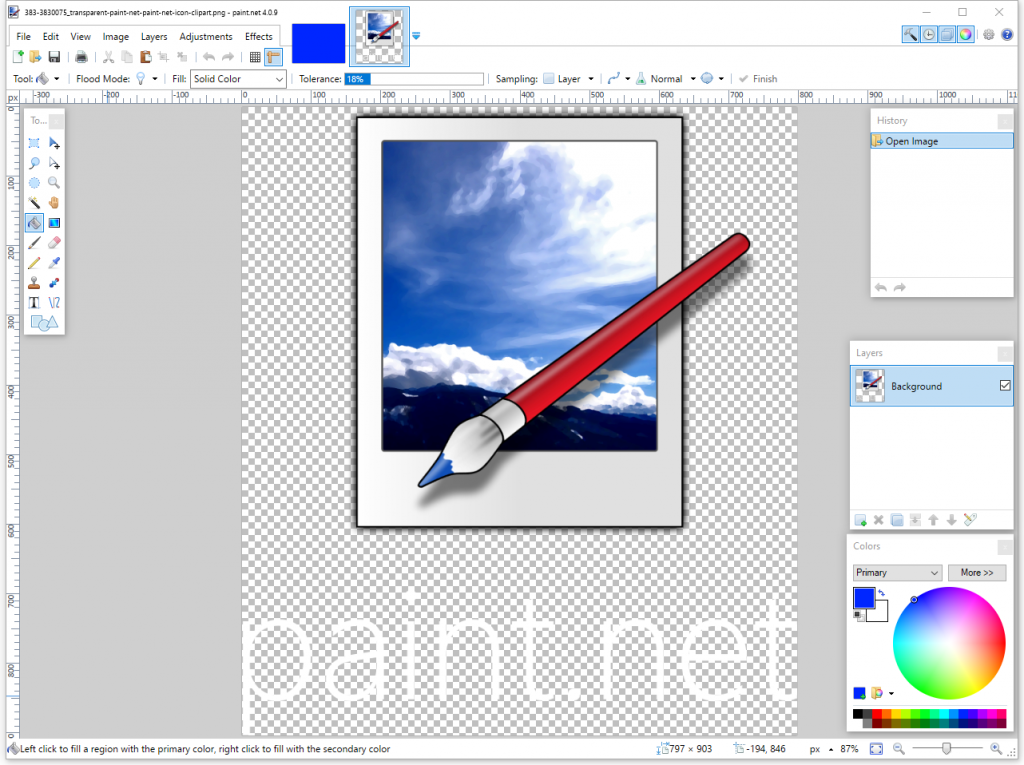
Secondly, we need to open the logo image file in Paint.NET. Click “File” in the top menu bar and select “Open”.

This will launch the “Open” window, where you choose the logo image file and click the “Open” button.

Thirdly, let’s copy the logo to the layer “Logo”.

Select the “Rectangle Select Tool” in the Toolbox by clicking it.


Use your mouse to click and drag a rectangle to select the logo image, and click “Edit” in the top menu bar and select “Copy”.

Now switch back to our image by clicking its thumbnail on the top bar.

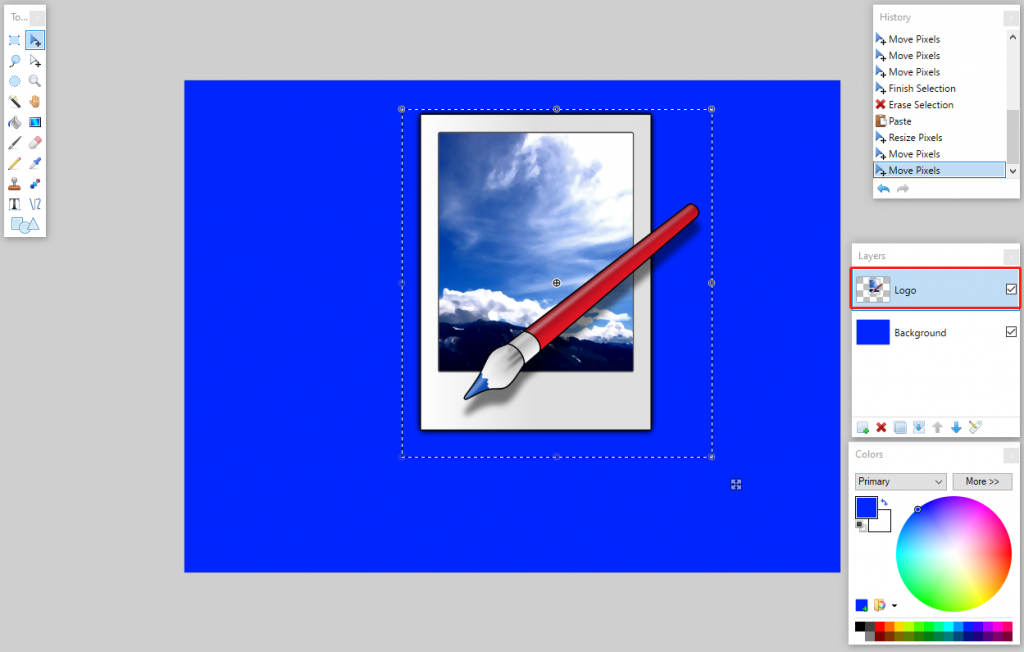
Click “Edit” in the top menu bar and select “Paste”. You can use your mouse to drag to adjust the position and the size of the pasted image.

Finally, press “Ctrl + D” to cancel the selection area. Now a layer with the logo image is created.

6. How to Add a Layer with Text

In order to create a layer with text, we will add a new layer and insert text to the new layer.

Sponsored Links

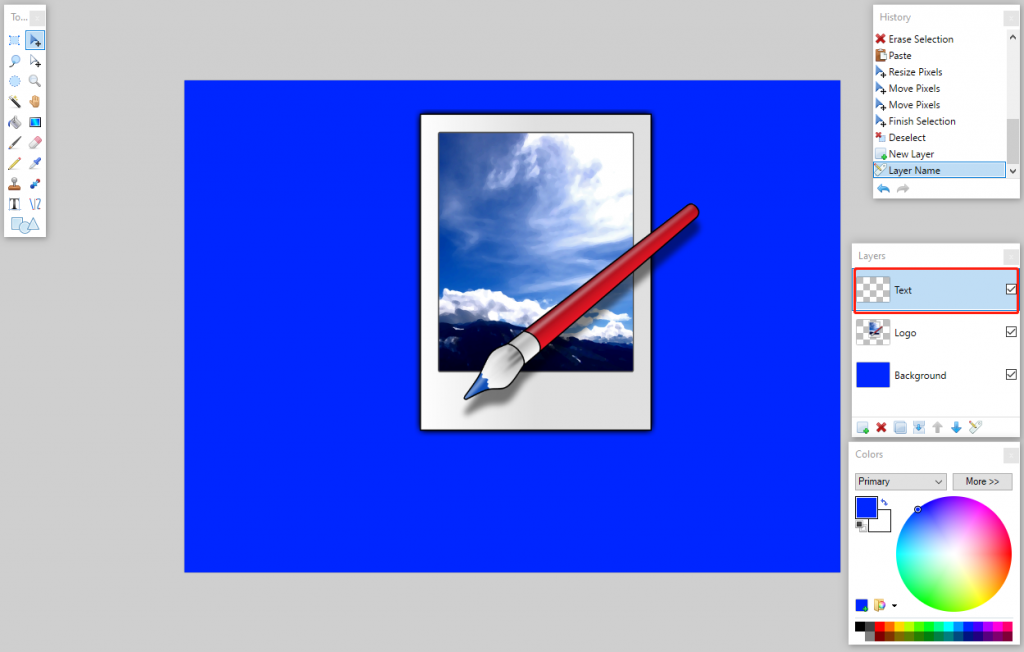
First, similar to the steps in the previous chapter, we need to add a new layer by clicking the “Add New Layer” button in the Layers section. The default name of the new layer is “Layer 3”. We double click the new layer “Layer 3” to open Layer Properties dialog and change the layer name to “Text” and click “OK”. Now we have a new blank layer “Text”.

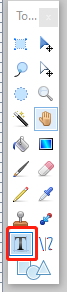
Then, we select the “Text” tool in the toolbox by clicking it.

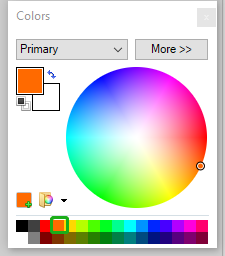
In the Colors section, we change the primary color to Orange.

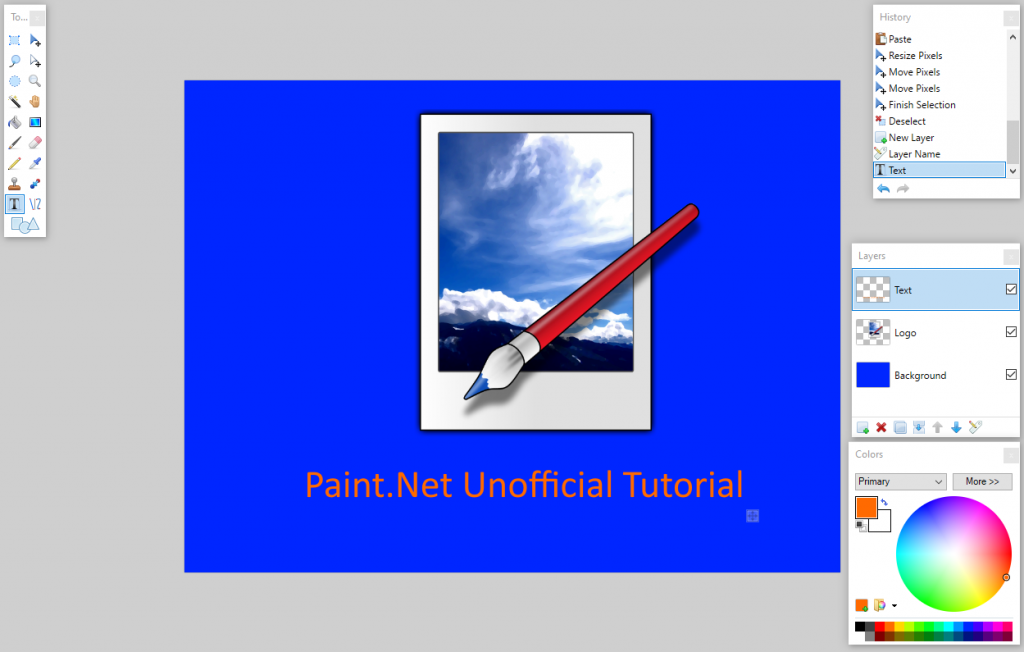
And finally, we click in the image and input text “Paint.Net Unofficial Tutorial”. You can use the mouse to drag and change the text position. You can also change the font name, size and style in the top toolbar.

Now we have created the layer with text.

7. How to Duplicate, Delete or Hide a Layer

Besides creating a new layer, the common operations to layers are duplication, deletion and hiding.

Sponsored Links

For example, if you want to change the content a little bit on one layer, instead of creating a new layer from scratch, you can duplicate that layer, modify it, and hide the original layer to quickly have a look at the result. If you are not satisfied with it, delete the duplicated layer and duplicate the original one again and repeat the steps until you get the result you want.

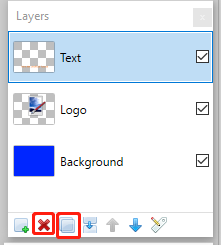
Duplicate – the “Duplicate” button is the third at the bottom of the Layers section.

Delete – the “Delete” is the second button at the bottom of the Layers section.

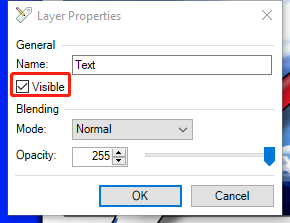
Hide – in order to hide a layer, you need to double click the layer in the Layers section to open its properties window, and uncheck the checkbox “Visible”.

8. Save your Work and Save it as PNG or JPEG

Saving your work from time to time is always a good work habit to avoid unpredictable loss.

To save your work, click “File” in the top menu bar and select “Save”. This will launch the “Save” window, where you give it a file name and click the button “Save”. Note: DO NOT change the default file type .pdn because all the layers information can only be saved in the .pdn format.

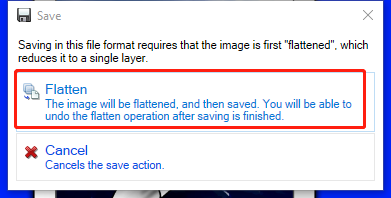
Although .pdn file format stores all information of your image including layers, you can not directly use it in web page or other applications. Instead, you should convert it to PNG or JPEG from .pdn format. In order to do so, click “File” in the top menu bar and select “Save as”. This will launch the “Save as” window, where you need to select PNG or JPEG from the Save as type dropdown list, give it a new file name and click the button “Save”. If you see a “Save Configuration” window, just click the button “OK”. Then you will see a window similar to the one below. Be sure to click the button “Flatten” and then your image will be converted to PNG or JPEG.

You can use your PNG or JPEG image now.

9. Finding Paint.NET Support

Paint.NET is now supported by a group of volunteers. If you need help, you can post your question and find more information here:

Sponsored Links

 https://forums.getpaint.net/