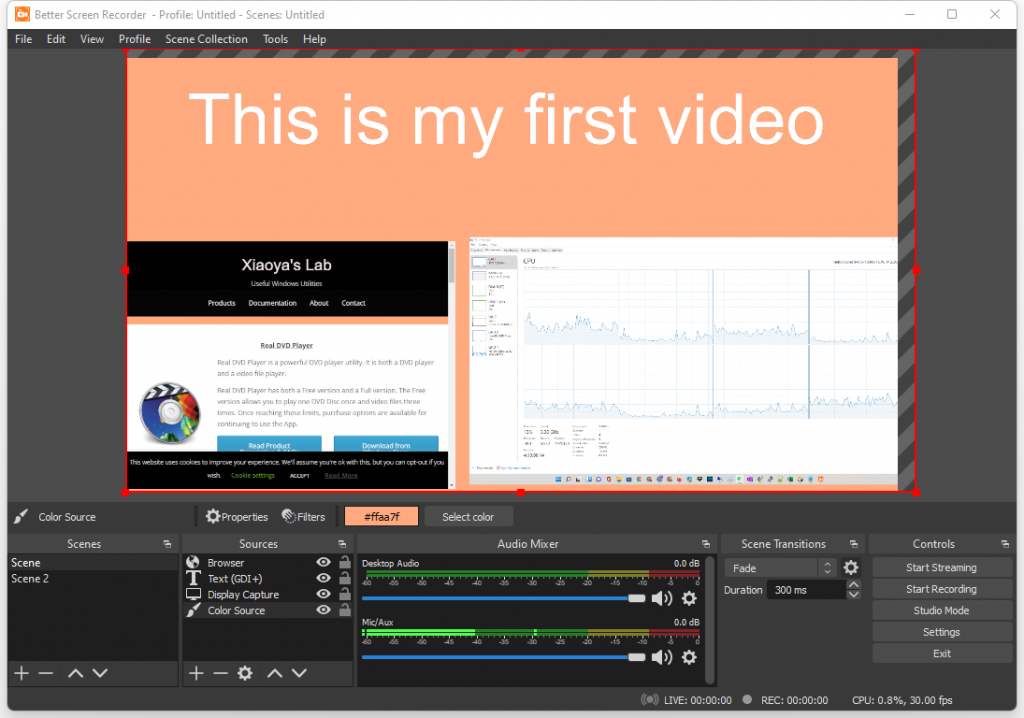
Better Screen Recorder Online Tutorial

This online tutorial include a simple 4-steps quick-start guide for new Better Screen Recorder users and some FAQs. Please read and follow these 4 steps to start streaming and recording. 

Sponsored Links

Step 1: Run the auto-configuration wizard
Step 2: Set up your audio devices
Step 3: Add your sources for video
Step 4: Test your stream and record settings
Note: Better Screen Recorder is a product by XiaoyaLab. At XiaoyaLab, we focus on these areas: PC optimization and cleaning, video processing and converting, audio processing and converting, video editing, image process and converting, etc.
Step 1: Run the auto-configuration wizard

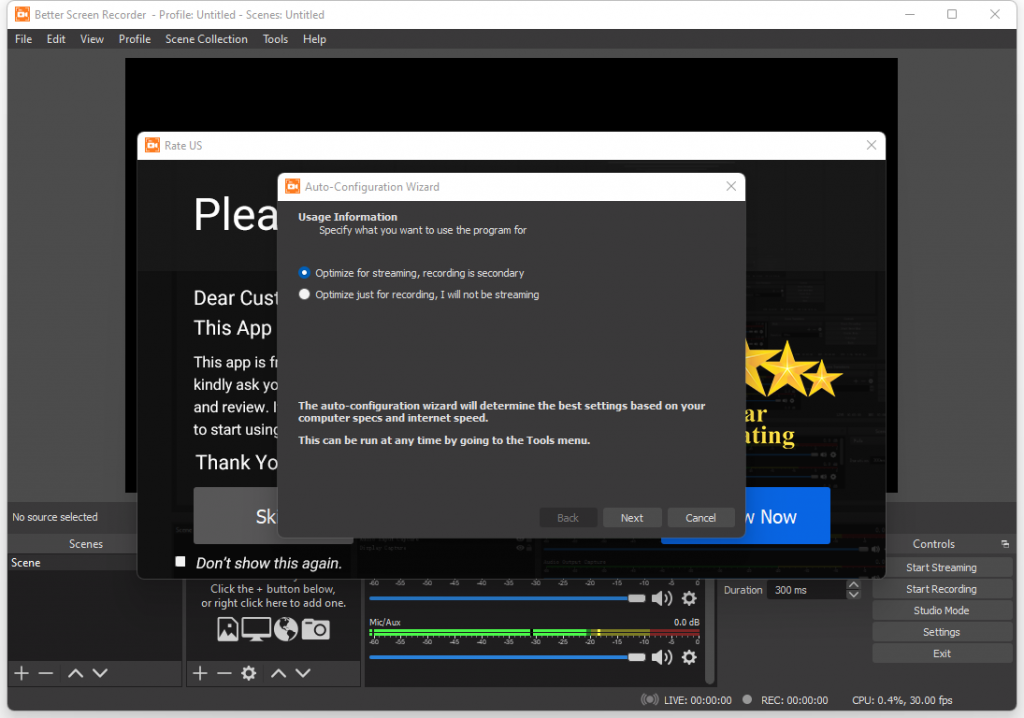
When you launch Better Screen Recorder for the first time you should see the Auto-Configuration Wizard. 

Sponsored Links

Screenshot:

If you have known streaming and have the streaming information, including the streaming service provider and the streaming key, you can select “Optimize for streaming”. Otherwise,  just start with “Optimize just for recording”.  Then, follow the steps to get good starting settings for your setup.

If you don’t see the Wizard but only the main window, you can manually access the Auto-Config Wizard in the Tools menu at the top.

This wizard will automatically test your system and attempt to find settings that your PC can handle. This includes streaming or recording, resolution, bitrate, encoder, streaming provider and more. You can always modify the settings manually later.

Step 2: Set up your audio devices

By default, Better Screen Recorder is set to capture your system default desktop audio device and microphone. You can verify this by looking at the volume meters in the audio mixer section of the main Better Screen Recorder window, and see if they are active. If they aren’t moving, or you suspect the wrong device is being captured, click on Settings -> Audio and select the devices manually.

Sponsored Links

Screenshot:

If you need to add more audio input to your recording or streaming, you can do so by adding new  audio sources. In the Sources section, click the “+” button, then select “Audio Input Capture” or “Audio Output Capture”, and follow the wizard to select  you audio device , and click “OK”. The new audio input will appear in the “Audio Mixer” section now.

Step 3: Add your sources for video

Next, you’ll see that the preview is a black screen. Better Screen Recorder does not capture any video by default. To get started capturing, you need to add a Source. At the bottom of the window is a section called ‘Sources’. Click on the + (or right click inside the box) and pick the source you want. As a few examples, select Game Capture if you’re capturing a game, Window for non-game applications, or Video Capture Device for a webcam or capture card.

Sponsored Links

Screenshot:

As you can see in the screenshot above, I have added a Color source, using the color #ffaa7f, as the background. I then added a Text source and added a title “This is my first video” to the video. After that, I added the Display capture (the  Task Manager is running) and dragged it to the right bottom corner. And, finally, I added a Browser source (www.xiaoyalab.com) and dragged it to the left bottom corner.

Step 4: Test your stream and record settings

Double check that all your settings are how you want them in Settings -> Output. Then, just hit Start Recording or Start Streaming. We strongly encourage running a test for a few minutes to make sure that there are no issues, rather than just jumping in to your first stream or recording.

Sponsored Links

Screenshot:

By default, the recorded videos are stored in the Videos folder – %UserProfile%\Videos. And you can always manually change it by clicking “Settings” -> “Output” -> “Recording Path”.

FAQ 1 – I cannot record a video and it only shows black screen. How to fix it?

Answer: If you want to record a video by using the Window Capture, and you see only a black screen, the reason is that your PC is using direct3D hardware acceleration to play the video. The solution for this problem is to use the Game Capture source to capture the video player window.

Sponsored Links

FAQ 2 – the quality on my stream or recording is bad! How can I fix it?

The quickest way to make sure you have good settings is to use the Tools / Auto Configuration Wizard. This will get most basic settings correct for you.
If you are recording, try using Simple output mode and the recording presets. If you have an available hardware encoder, try to use that for your recordings.

E-mail Support

If you have any further questions or feed-backs about the app, please feel free to reach us by email. We are here to listen and help.