Real PDF Editor PLUS Online Tutorial

Real PDF Editor PLUS is the new name of the product (previously Real PDF Suite).

Sponsored Links

This tutorial is for the new users of Real PDF Editor PLUS so that they can know and make use of the app better. If you are an existing Real PDF Editor user and have upgraded your app to Real PDF Editor PLUS, you can read our guide for the upgraded users.

In this quick guide, we cover the following topics: 5-day full trial vs limited trial vs full version, switch between UI 3 and old UI, PDF viewer, annotation, fill PDF forms, split PDF, merge PDF, re-order PDF pages, rotate pages, convert other formats to PDF, convert PDF to images, other formats supported.
Full Trial VS  Limited Trial VS Full Version

The 5-day free full trial allows you to try all features for 5 days. After that, the app becomes the limited trial version, in which the viewer is free but all other features are locked. At any time you can purchase a license to get the full version and unlock all features.

What the Full Version Unlocks?

Split a PDF file
Merge multiple PDF files
Reorder pages in one PDF file
(New) Rotate Pages
Convert PDF to images

Note: PDF annotation and filling forms are free features in the new Real PDF Editor PLUS now.

Switch between UI 3.0 and Old UI

Besides the look, the main difference between UI 3.0 and the Old UI is that UI 3.0 uses a new PDF Viewer and Annotation module, which is much more stable compared to the one in the Old UI.

Sponsored Links

By default, Real PDF Editor PLUS uses UI 3.0. However, you can switch to the Old UI from the default UI 3.0 if you really get used to the old one.

Click the button or menu item “Setting” and then you can do your selection in the UI Settings window.

Note: we highly recommend you use the default UI 3.0 because we may get rid of the old UI in the future.

Other Supported Formats

Besides PDF, Real PDF Editor PLUS can also open many other formats. It works well as a e-book reader and a image viewer.

The formats are: PS (.epfs, .epfi and .ps), Tiff (.tif and .tiff), CHM, DjVu (.djv and .djvu), Images (.bmp, .dib, .icb, .ico, .jpe, .jpeg, .jpg, .jpg2, .mng, .png, .pbm, .pcx, .pgm, .ppm, .rgb, .tga, .tpic, .vda, .vst, .xbm, .xcf, .xpm .gif, .webp and etc.), DVI, XPS (including .oxps), ODT, Fiction Book (.fb2), Comic Book (.cb7, .cbt, .cbr and .cbz), Plucker, EPub (.epub), Fax (.g3 and .fax), Mobipocket (.mobi), Okular, Prc, Wwf

PDF Viewer

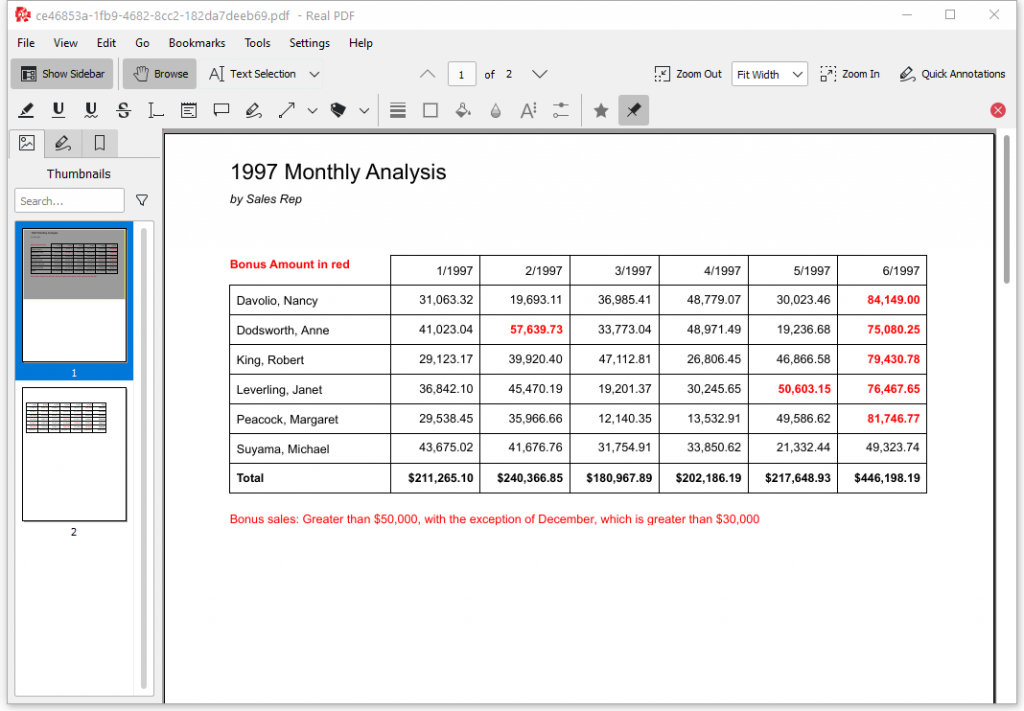
The viewer component in Real PDF Editor PLUS is a PDF viewer with a complete feature set including thumbnail view, turning pages, zoom in/out, one page view & window width view and rotate.

Sponsored Links

You can open the viewer by clicking the button “Open”, “Annotate” or “Fill Form”.

Fill a PDF Form

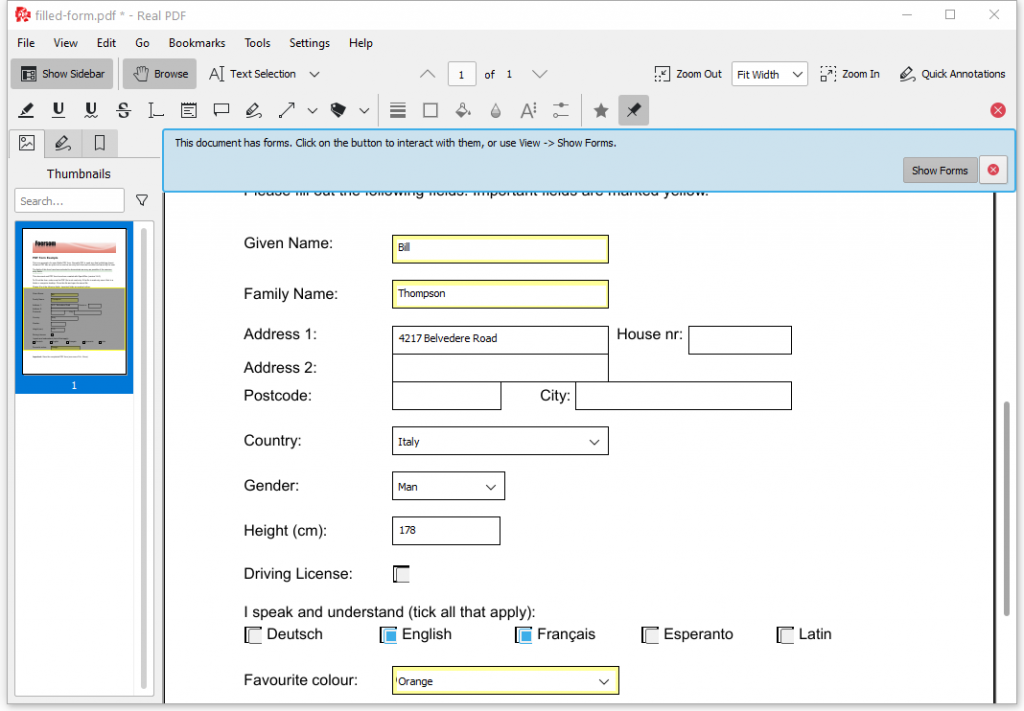
If the PDF file is a fillable form, with Real PDF Editor PLUS, you can simply open the file and fill the content. It’s just that straight forward. Don’t forget to save it after filling in all content.

Note: not all PDF files are fillable. If the PDF file is not fillable, you can still use the annotation tool “Typewriter” to fill a form.

PDF Annotation Tools

The new full set of annotation tools in Real PDF Editor PLUS is easy to use.

Sponsored Links

Screenshot:

In the current version, Real PDF annotation tools include highlighter, underline, squiggle, strike out, typewriter, inline note, popup note, freehand line,  line and shapes (straight line, arrow, rectangle, ellipse and polygon) and stamps. All these tools are customizable.

Freehand line, straight line, arrow, rectangle, ellipse and polygon – click to pick the tool you would like to use, and then, in the PDF file, start to draw anywhere you want.

Typewriter, inline note and popup note – click to pick the tool you would like to use, and then, in the PDF file, click the position where you want to add text and start typing.

Highlighter, underline, squiggle and strike out – click to pick the tool you would like to use, and then select the text you would like to annotate.

Stamps – click the stamp dropdown list and choose one stamp,  then in the PDF file, click the place you would like to add it. Note: the stamps added using this software are not visible in PDF viewers other than Real PDF and Okular.

Split PDF

To access the split tool, you need to click the button “Split” on the main UI. It will ask you to pick the PDF file you would like to work on, open it and at the same time, the split tool is open beside it on the right side.

Sponsored Links

There are two modes to split a PDF file.
Mode 1 – Split PDF by Page Range. This mode works in a way to extract a part of the PDF file into a new PDF file. You specify the From page number and the To page number, then click the button “Split” at the bottom. You will be prompted to provide a file name for the new PDF file.
Mode 2 – Split PDF into Individual Pages. This mode splits the PDF into multiple small PDF files, one page one file. You choose “Individual Pages” in Split Options, and then click the button “Split” at the bottom. You will be prompted to choose a folder as the destination folder to host all these new small PDF files.

Note: DO NOT modify any annotations or fill forms in the split tool because the modifications will not be saved. Instead, use the button “Open” to open the PDF file in the new PDF Viewer to make any necessary modifications.

Merge PDF Files

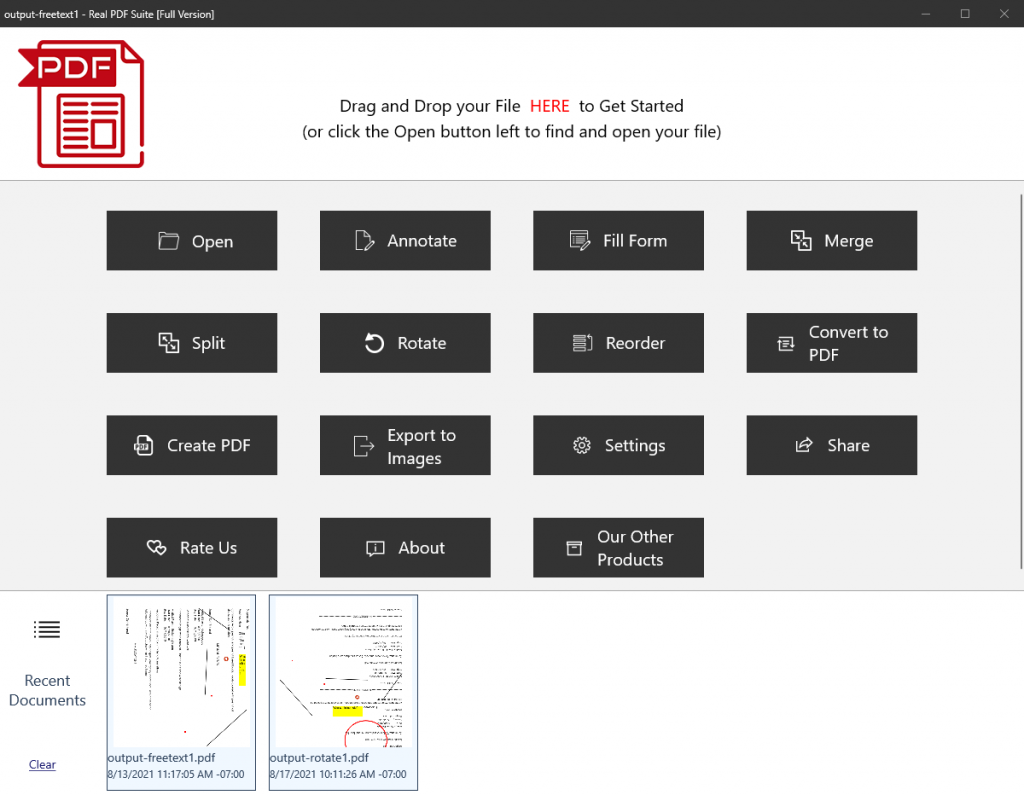
You can access the PDF merge tool by clicking the button “Merge” in main UI.

First, you need to click “Add Files” button and add the PDF files one by one, in the order that you would like them to be merged.
Second, Click the button “Merge Files”. The app then starts to merge the files.
When the merging is complete, the app will ask you to give the merged file a new file name and save it.

Rotate Pages

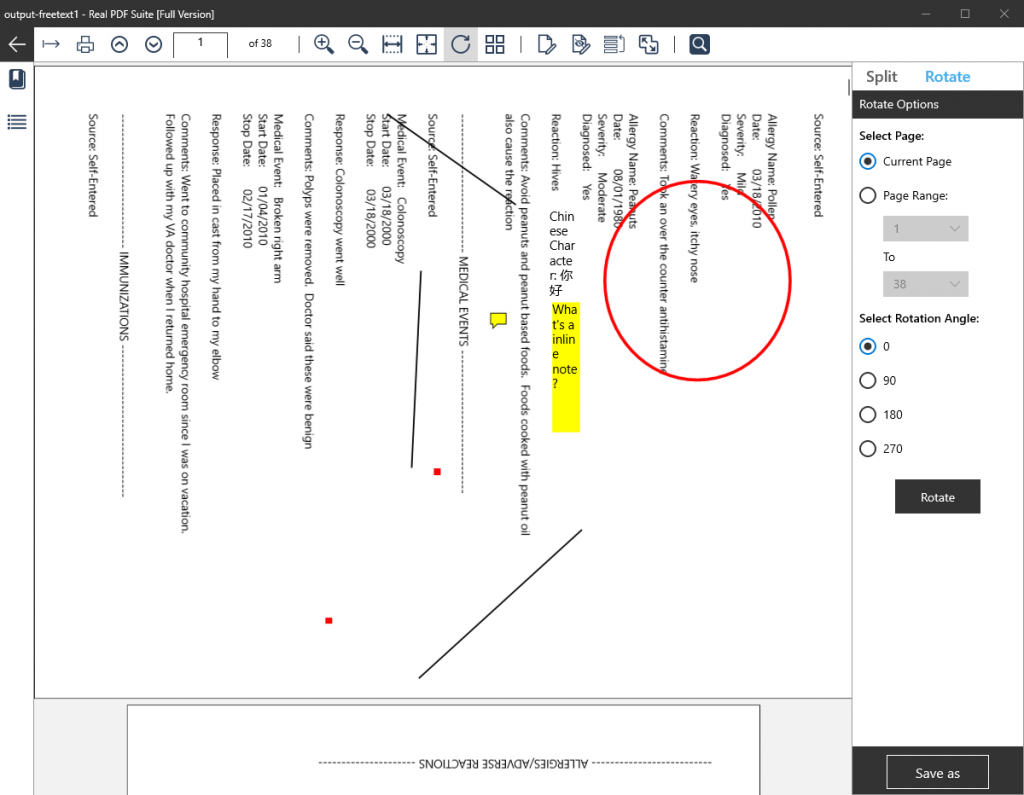
To access the rotate pages tool, you need to click the button “Rotate” on the main UI. It will ask you to pick the PDF file you would like to work on, and open it in the rotate pages tool.

Sponsored Links

Screenshot:

When you are in the reorder tool, a message box pops up reminding you not to do any annotations or fill a form. Just click the button “OK” to close it. Now on the right panel, you can select the options to rotate pages. First, select “Current Page” or “Page Range”; then, select the angle to rotate; finally, click the button “Rotate”. Your selected page(s) will be rotated. When you are satisfied with the result, don’t forget to click the button “Save as”. It will ask you a new filename and save the modified document there.

Note: the option “rotation angle” is an absolute angle to the original page direction but not a relative angle to the current page direction. For example, if you want a page to be upside down, whatever that page’s current direction is now, you always need to select “180”.

Reorder Pages

To access the reorder pages tool, you need to click the button “Reorder” on the main UI. It will ask you to pick the PDF file you would like to work on, and open it in the reorder pages tool.

When you are in the reorder tool, a message box pops up reminding you that you are doing reordering operation now. Just click the button “OK” to close it. Now you see all your pages as thumbnails. You can drag and drop one page to the place you would like it to be, and you can also select one or multiple pages and click “Clear Files” to remove them. After you are satisfied with the result, click the button “Commit Changes”. It will ask you a new filename and save the modified document there. Once you are done, click the left arrow sign at the top left corner to go back and now you can view your new PDF file with pages reordered.

Note: DO NOT modify any annotations or fill forms in the reorder tool because the modifications will not be saved. Instead, use the button “Open” to open the PDF file in the new PDF Viewer to make any necessary modifications.

Convert PDF to Images

You can convert a PDF file to standard image formats including TIFF, BMP, PNG, JPEG and GIF. Simply click the button “Export to Images” in the main UI, it will ask you to pick the PDF file you would like to work on, and open it in the export tool. In the toolbar, choose the image format that you would like you PDF file be converted to, and click the button “Export To…”, a window will popup to ask for a file name. You fill in the file name and the conversion will be done.

Convert Other Document to PDF

Real PDF Editor PLUS provides a new tool to help you convert other documents to PDF. You can access it by clicking the button “Convert to PDF” or “Create PDF” in the main UI.

Sponsored Links

The supported source formats include Word (doc and docx), images (jpg, png, bmp, gif and more), Excel (xls and xlsx), Powerpoint (pptx), URL and Html files.

We also recommend you to read the online tutorial for this tool only.

Create a Blank PDF

Real PDF Editor PLUS also provides you a feature of creating blank PDFs in the new converter tool mentioned above.  In the Real PDF Creator, click the button “Create Blank PDF” and follow the instructions to do it.

E-mail Support

If you have any further questions or feedbacks about the app, please feel free to reach us by email. We are here to listen and help.