10. Let’s Try a Working Example of How to Use Layers
Now that we have discussed how to create and use layers, let’s create a sample rectangular banner with a color background and text.
Step 1: Launch GIMP
Step 2: Click on “File” and select “New”
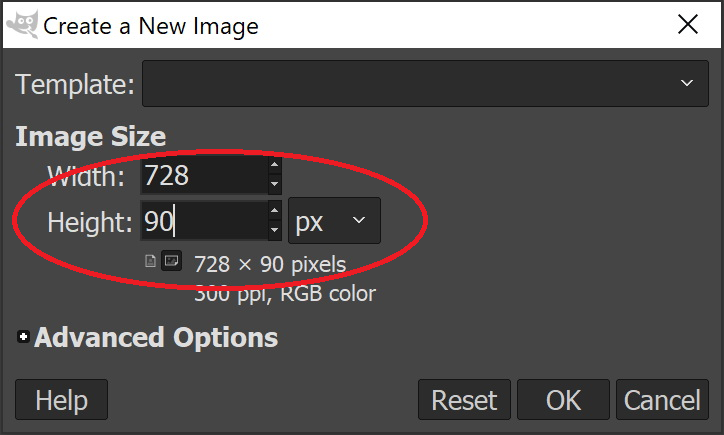
Step 3: The “Create New Image” dialogue box will appear. Let’s create a standard Leaderboard banner which is 728 x 90 px. Enter “728” in the Width box, and “90” in the Height box. Select “px” (for pixels) as the unit type.
Step 4: Click “Advanced Options”. In the “Fill with:” section, select “Background color”
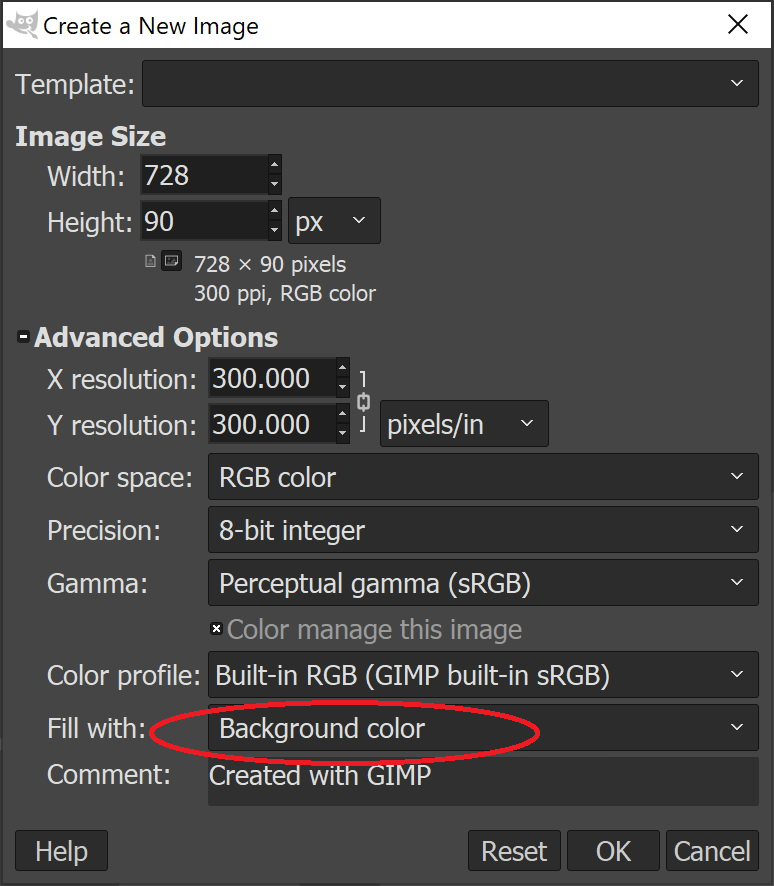
Step 5: Click “OK”
Now you will see the Leaderboard banner has been created. In this example, we have selected the color red as the background color.
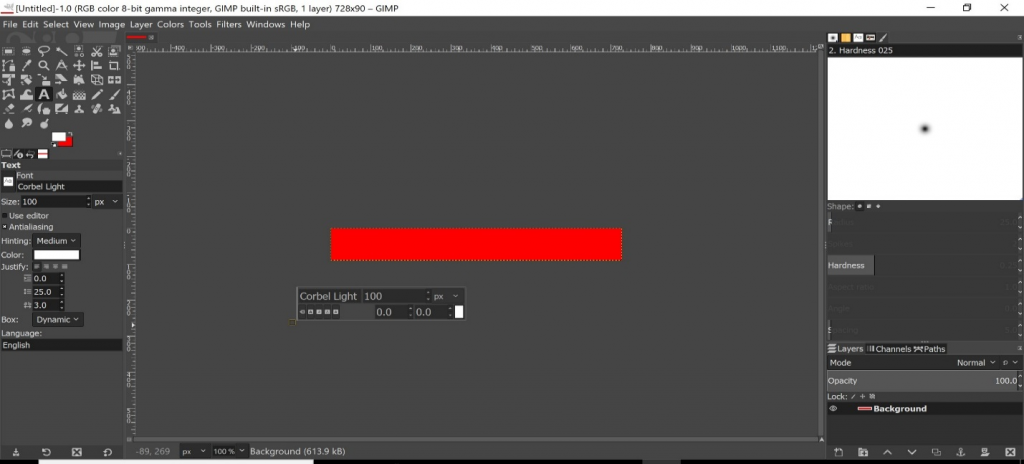
If you would like to change the current color of the banner that you have just created, click on the “red” square (the background color) behind the white square (the foreground color).
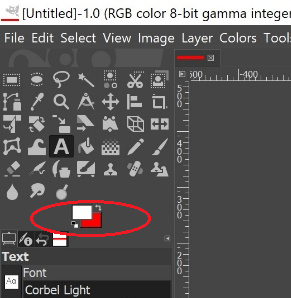
This will open the color palette to select the background color of your choice. In this example, we will select the color blue.
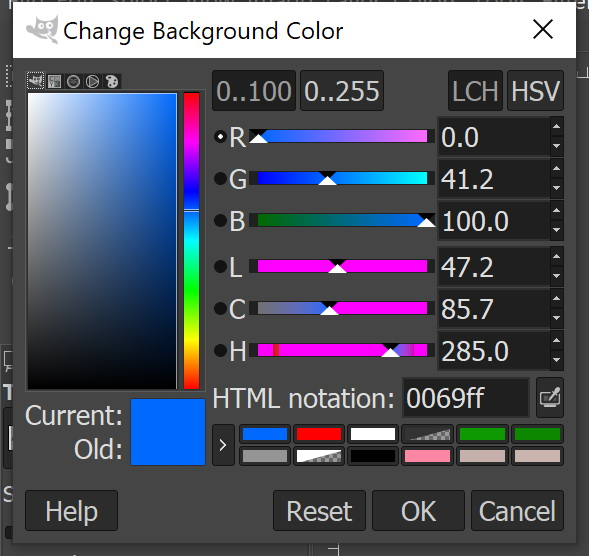
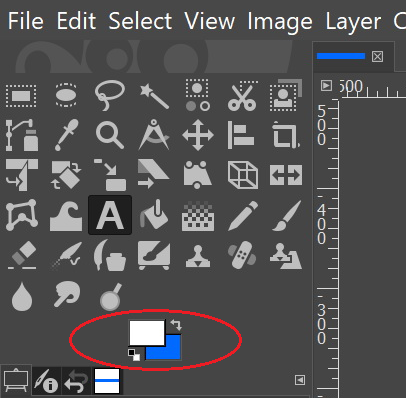
Click “OK”. Now you will see that the Background color square is now blue instead of red.
Step 6: To change the background color of the Leaderboard banner, select the “Background” layer is the “Layers” list. If the Background layer has been selected, you will see that the layer will have a dotted border. Right-click your mouse inside of the banner and select “Edit”. Click on “Fill with BG color”.

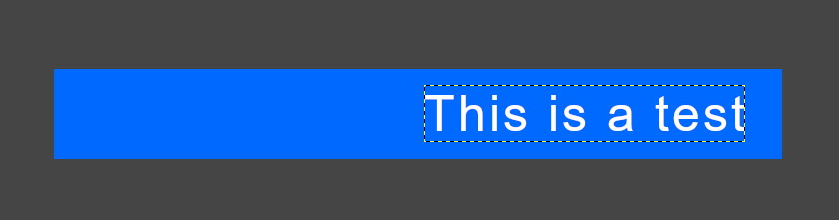
The Leaderboard banner is now blue.
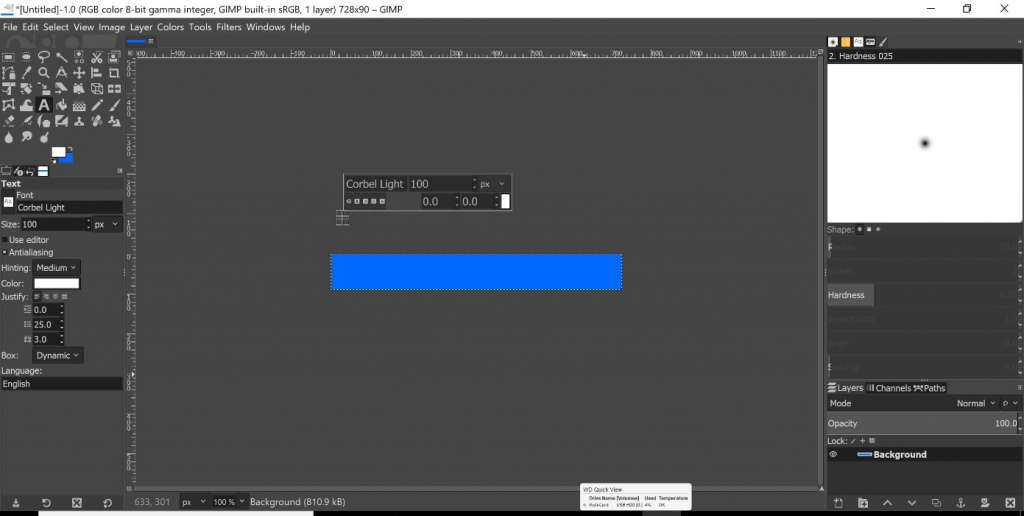
Now, let’s add some text to the Leaderboard banner that we have just created.
Step 7: Click on the “Text Tool” button.
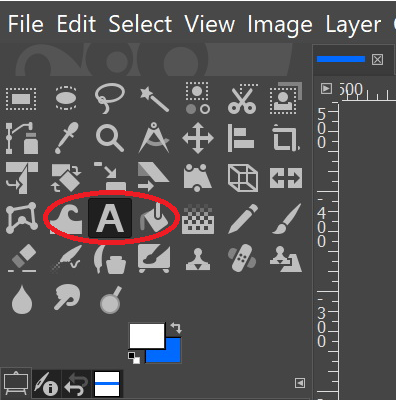
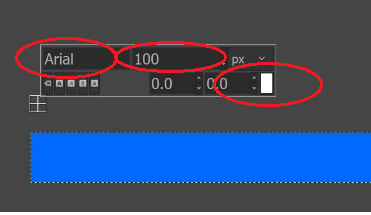
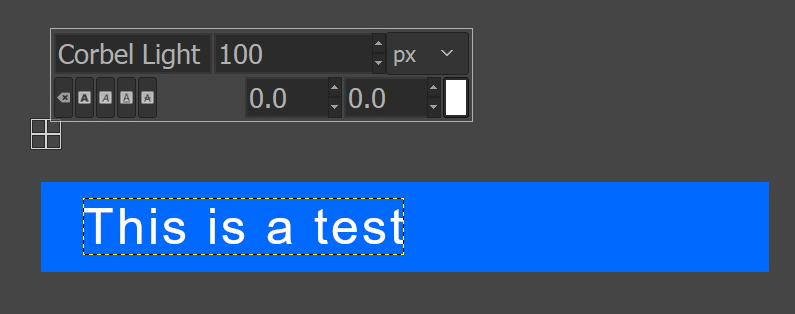
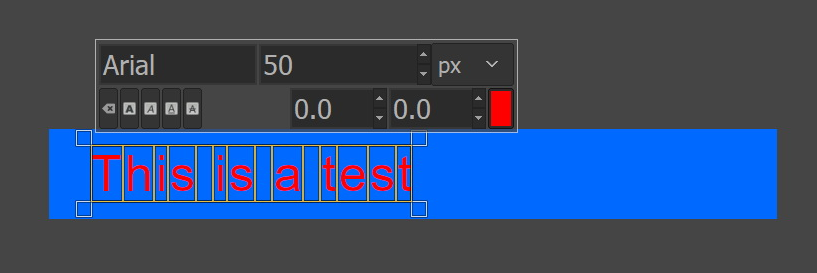
The Text Tool editor UI will now appear. In this example, we have selected the font type as “Arial”. If you would like to edit the font type, highlight the current font type and start typing the font type of your choice.
The font size is the number to the right of the font type.
Font color selection is the color square located at the bottom right corner of the Text Tool UI. Clicking on the color square will open the color palette.
Step 8: Click the location where you would like to insert the text in the banner. Start typing your text.
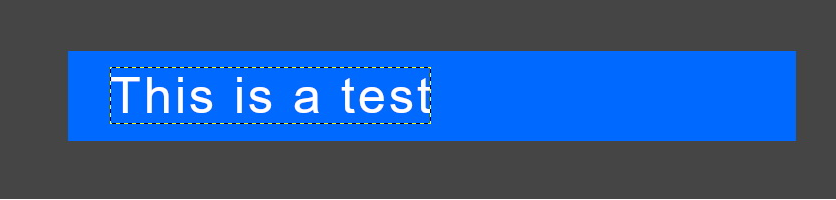
Once you have finished inserting your text, you will see that a new Layer appears in the “Layers” list displaying the text that you have just inserted.
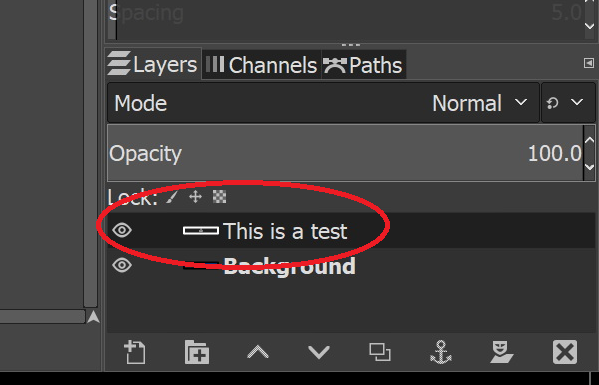
If you would like to change the color of the text font, select the “Text” layer in the “Layers” list.
Place your mouse cursor at the start of the text. Left-click and drag your mouse cursor over the text that you wish to change the font color. The selected text will be highlighted with a border.
Once the text has been selected, click on the text font color palette in the bottom right corner of the Text Tool UI. Select your font color and click “OK”. The text will now be displayed in your selected color.
If you would like to move the location of your text in the Leaderboard banner, select the Text layer from the “Layers” list.
Step 9: Select the “Move” tool.

Select “Move the active layer” in the left panel under the GIMP Toolbox.

Place your mouse cursor on the text. Click and hold the left mouse button and drag the text to the location of your preference on the banner.
Before:

After: