ARW to JPG Converter Online Tutorial

Sponsored Links

This online tutorial is for ARW to JPG Converter users so that they can make use of the app better.

In this online tutorial, we cover the following topics: 3 Steps to convert Sony raw files to common image files, what formats are supported, how to add multiple files to the list to convert, how to preview images in the list before converting,  how to adjust the compression quality for the output files, how to change the output directory, how to start converting, where can I find the output file.
What Formats are Supported

Input formats: .arw, .srj and .sr2

Output formats: .png, .jpg, .jpeg and .bmp

3 Steps to Convert Sony Raw Files to Common Image Files

  • Add source Sony raw files to the tool.
  • Check and adjust settings if necessary. 
  • Start converting by clicking the button “Convert”.
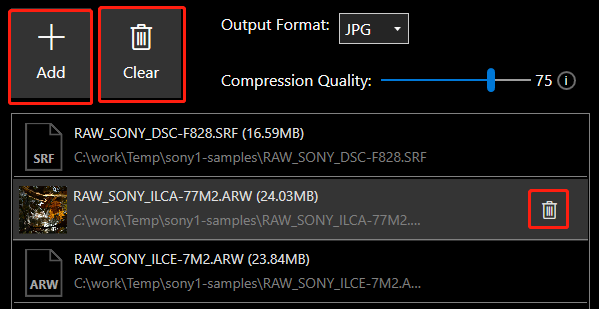
Step 1 – Add Multiple Source Sony Raw Files to Convert

Sponsored Links

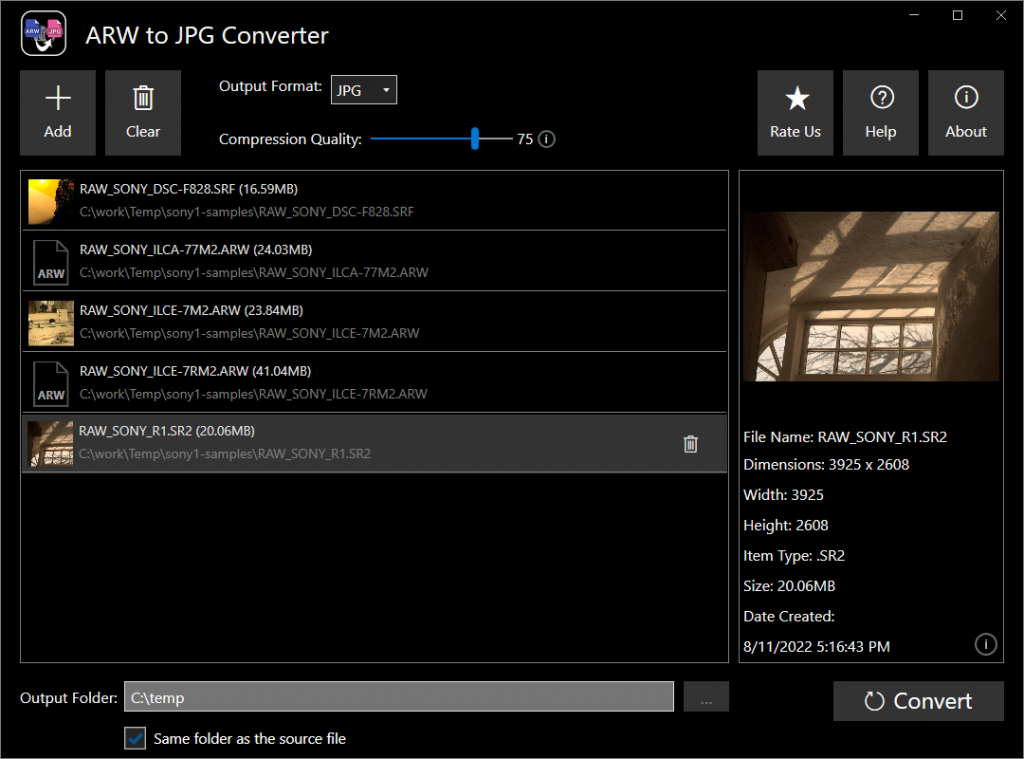
In order to add files to convert, click the button “Add” in the toolbar, select the files that you want to convert, and then click the button “Open”.

How to Remove Files?

In order to remove all the files from the list, click the button “Clear” in the toolbar. This will empty the list.

In order to remove one file from the list, you need to select it by clicking it and then click the button “Remove It” located at the right end of the row, as shown above.

Step 2 – Check and Adjust Settings if Necessary

Sponsored Links

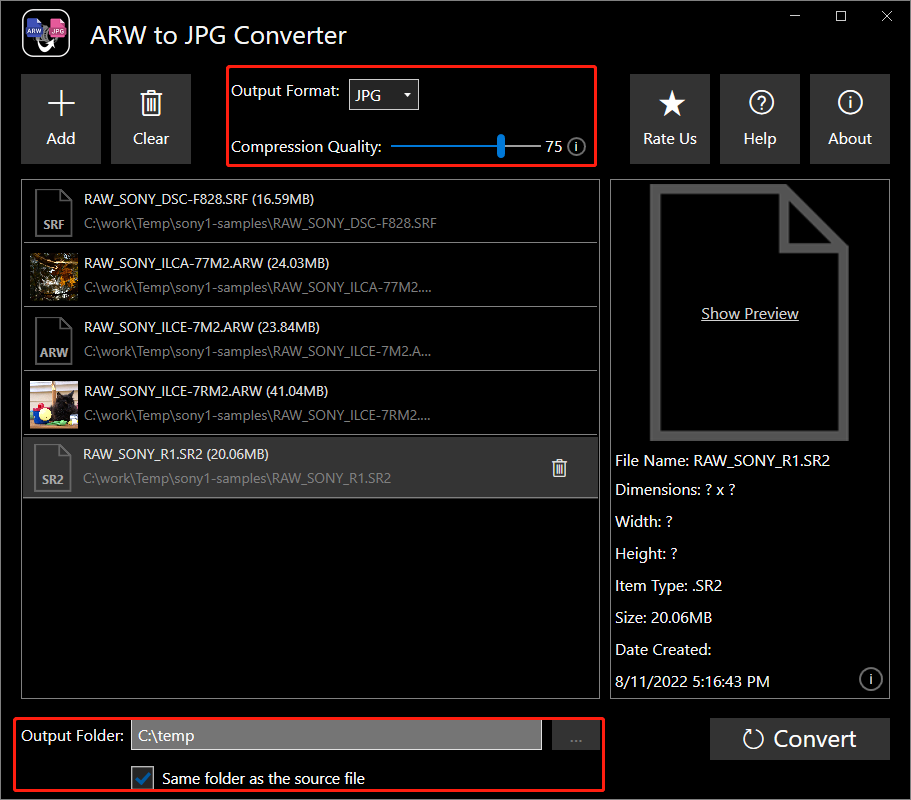
First, check and make sure you are OK with the output format (as shown below). To change it, click the dropdown list and select a different one. For JPG and JPEG, you can also adjust the compression quality percentage.  A higher compression quality value means a higher image quality and a lower compression ( a larger file size), and vice versa. 

Second, check the output folder setting. If the “Same folder as the source file” option is checked, the output file will be saved in the same folder as the input file. If the input files are from different folders, the output files will be in different folders. On the other hand, you can always uncheck that option, and select a “real” Output Directory by clicking the folder icon to the input box above. This way, all the output files will be located at that folder.

How to Preview Images?

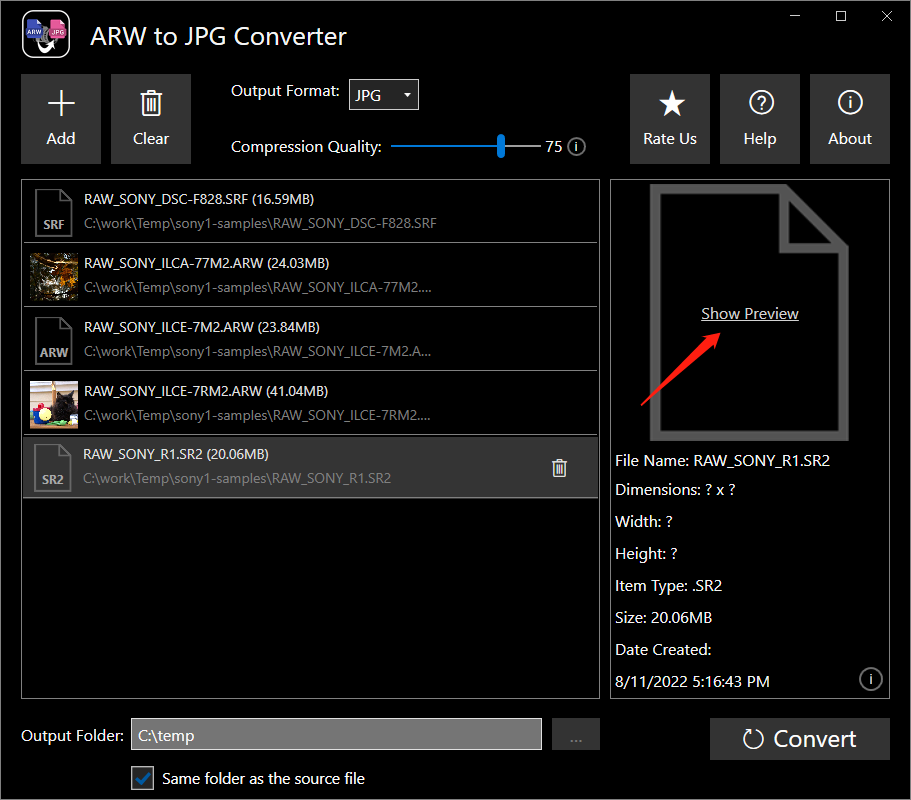
In order to preview one image before converting, just select that image by clicking it, and then click the “Show Preview” link in the right panel. Note: rendering an image preview may take quite a while if your raw image is very large.

Step 3 – Start Converting

Sponsored Links

When you have inserted all your source files, you can start the batch conversion by clicking the button “Convert”. The files in the list will be processed one by one from top to bottom.

Where Can I Find the Output File?

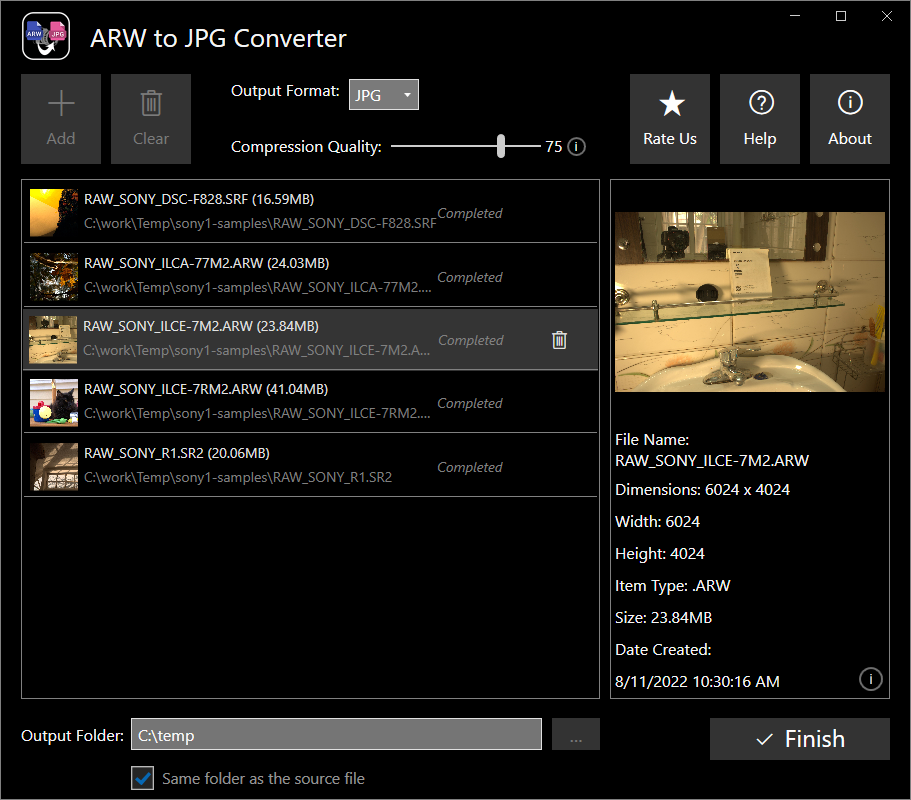
Once the conversion process is done, you can go to the output folder to find the converted files. The converted file’s name is the original file name followed by the new file extension. If there is a file with the same name in the same folder, the app will append a “(X)” to the name, in which X is a number. 

If you want to convert some other files, you need to click the button “Finish”. This will reset the tool to its initial status.

What to Do if the Conversion Failed?

If one conversion fails in the app, we kindly ask you to follow the instructions below.

Sponsored Links

First, please close other apps in your PC if there are any, to give this app enough RAM to process the conversion.  Try to do the conversion job again.

Second, if the re-try still fails, please send an email to us with that file sample. We will try our best to help you.

E-mail Support

If you have any further questions or feed-backs about the app, please feel free to reach us by email. We are here to listen and help.