Scan Document to PDF Online Tutorial

What’s New: Version 3.0 improves OCR and adds batch scanning support.

Sponsored Links

This is a simple tutorial for Scan Document to PDF users. It covers the following topics: 3 steps to scan documents to a professional PDF; how do I add a scanner and scan? how to enable OCR? how do I preview the scanned documents and adjust the look? how do I rotate one page? how do I reorder pages? how do I save them as a multi-page PDF? how do I import a PDF file? how do I save the scanned documents as images? how do I print and email the scanned documents? how do I perform a batch scan?

Scan Document to PDF allows you to quickly and easily scan documents and convert them to professional PDFs. Moreover, you can also add existing PDF pages to the newly scanned document and create a new PDF file.
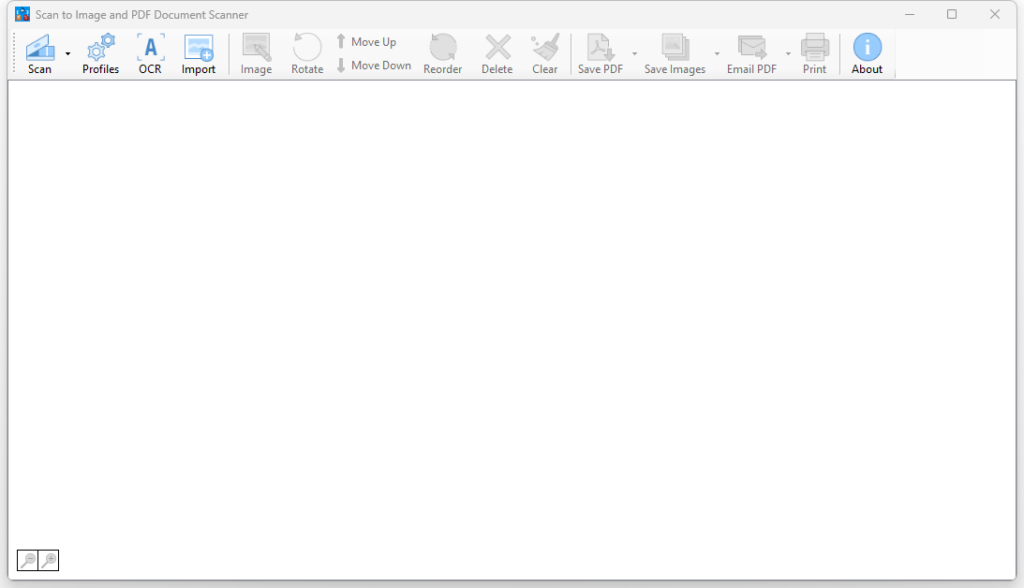
Main Features

Scan documents
OCR available
Import PDF
Crop and adjust pages
Save to searchable PDF directly
Save to images
Batch scan

3 Steps to Scan Documents to a Professional Searchable PDF

With Scan Document to PDF, it takes 3 steps to scan your documents to a professional searchable PDF. The 3 steps are:

Sponsored Links
  • Scan documents and/or import pdf
  • Page adjustment including crops and re-orders
  • Save to a multi-page PDF file

Step 1 – Scan documents and/or import pdf

In order to scan documents, you need to have at least one scanner added, then click the button “Scan” in the toolbar.

How to add and manage scanners?

To add a scanner to the app:

  1. Click the “Profiles” in the toolbar.
  2. In the “Profiles” window, click the button “New”.
  3. In the “Profile Setting” window, click the button “Choose device” and select the scanner device connected to your PC.

To edit a scanner, you need to go to the “Profiles” window,  select a scanner and click the button “Edit” to change its settings.

How to enable OCR for scanning?

OCR is a very useful feature in Scan Document to PDF. Enabling OCR will make your final PDF searchable instead of just a static image.

Sponsored Links

To enable OCR, you need to:

  1. Click the button “OCR” in the toolbar.
  2. In the “OCR Setup” window, check the option “Make PDFs searchable using OCR”.
  3. In the “OCR Setup” window, click the link “Get more languages” to download the language packs the you need to use.

How to import a PDF?

Sometimes you need to import pages from an exiting PDF file and add some of them to the newly scanned documents to make a new complex PDF file.

To import a PDF to the app, just click the button “Import” in the toolbar, select the PDF file that you want to import, and click the button “Open”. All the pages of this PDF file are imported to the app now.

Step 2 – Page Adjustment

After scanning and importing, the pages are in the app now. The next step is that you adjust the pages to make them perfect for the final PDF file.

As shown below, the operations you can do to a page include:

  • Crop
  • Brightness / Contrast
  • Hue / Saturation
  • Black and White – make the page to black and white
  • Sharpen
  • Rotate
  • Move Up / Down
  • Reorder
  • Delete – remove this specific page
  • Clear – remove all the pages from the app

Note: in order to conduct the operations above to a page, you need to select it by clicking it first.

Step 3 – Save to a Multi-page PDF

After adjusting all pages, you can save them to the final PDF file now. 

Sponsored Links

In order to save all pages to a multi-page PDF file, simply click the button “Save PDF” in the toolbar.

Other than saving the pages to a multi-page PDF file, Scan Document to PDF provides other output options.

  • Save selected pages to PDF
  • Save all to images
  • Save selected pages to images
  • Email PDF – create a email in your email application and attach the created PDF as an attachment.
  • Print – print the pages

How do I perform a batch scan?

In Version 3.0, Scan Document to PDF supports Batch Scanning. Follow the steps below to get started.

1, Click the arrow next to the Scan button and select Batch Scan.

2, In the Batch Scan window, choose Multiple scans (prompt between scans) or Multiple scans (fixed delay between scans), then click the Start button.

E-mail Support

If you have any further questions or feed-backs about the app, please feel free to reach us by email. We are here to listen and help.